
Hey!
In this post I present you my project for managing VMs HackTheBox style.
Why
Recently, in the team we were discussing a possibility of hosting our own VMs. The intention here was that some of the members are willing to share their knowledge and would like to do so by creating vulnerable VMs. That is very much HackTheBox way but this is the closest to our hearts so we were more than excited. The big advantage of such an approach is that new members can easily spawn VMs and learn.
Prerequisites
- This panel was fully deployed and tested on Ubuntu 18.04 LTS and 19.10. Other operating systems and distros should handle it
- You have to deploy OpenVPN server with proper routing for users to have access to the platform and VMs. The default CIDR (changeable) for machines is
10.10.10.10/24.
How
Idea
I’ve had already few Django projects so this was an easy decision to make. This one also will be no different. Who doesn’t love Django anyway? No one, right? Right? Yeaaaa, so.. The next big part was the choice of the virtualization hypervisor. I have had prior experience with VMware ESXi and Proxmox but it turned out that QEMU/KVM with libvirt are actually much better to handle from the code. I’m pretty sure that I can manage Proxmox with libvirt as well since it’s based on QEMU/KVM but sticked with pure QEMU/KVM because of one reason. Portability. I can install QEMU/KVM anywhere. Azure, AWS, dedicated server, home server, home PC, VM on the PC. It’s more freedom than I need but my hope is that it just fits more deployment scenarios.
So the big picture is Django speaking to QEMU/KVM using libvirt. Now fast forward 2 months and here we are.
Install
Everything you need to do is to pull docker images and run the containers!
# Clone the repository
git clone https://github.com/mrblacyk/Boxer.git

# Enter the repo
cd Boxer

# To prepare the host (ubuntu/debian for now is only supported!)
bash prepare_host.sh

# If you want to use docker hub image
docker-compose -f docker-compose-nobuild.yml up -d

# If you want to build the image yourself
# docker-compuse up -d --build

# Good to issue to resolve potential problems
chown -R www-data:www-data db/ uploads/
Technology stack
- Virtualization hypervisor is QEMU/KVM
- Virtualization API is libvirt
- Docker for containers and docker-compose to manage them
- Redis used to handle delayed VM shutdowns / resets with the option to cancel them
- Python dependencies managed by
pipenv - Web panel built with Django
- AdminLTE project for the front-end
Web panel
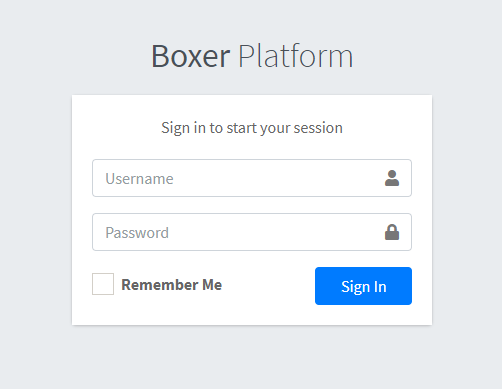
On the vanilla install the first person to visit the page is greeted with the admin account creation and overall setup of the platform. You are only required to pick credentials, the rest happens in the background. Once done, you will see the login form.
Hopefully you didn’t already forget the credentials (or mistyped them previously). If you did however, you need to use the terminal again. Bash yourself to the boxer container - docker-compose -f docker-compose-nobuild.yml exec boxer bash. Go to the django_app directory inside the repository and type pipenv run ./manage.py createsuperuser. Follow the instructions. After completion, you have to add yourself to the sysadmin group so from the browser head to http://${SERVER_IP}/admin/, log in with the credentials, navigate to your user section and from the available groups move sysadmin group to chosen groups. Save it! Click the View site in the upper right corner. Never tell anyone you’ve done that.
One way or another, this is what you should see after logging in to the platform:

The menu contains:
- Dashboard
- News
- Statistics (not done at all yet due to time constraints)
- Machines
- Mailbox
- Upload a file
- SysAdmin (visible and accessible only for the
sysadminDjango group)- Network
- Deploy VM
- Convert disk
- Configuration
- Django Administration
Dashboard
The default page is the News section. sysadmin users can add news. The Statistics page for now has very unambigious message for me to not waste time on not-core functionality.
Machines
This is the page which users will spend most of their time on.
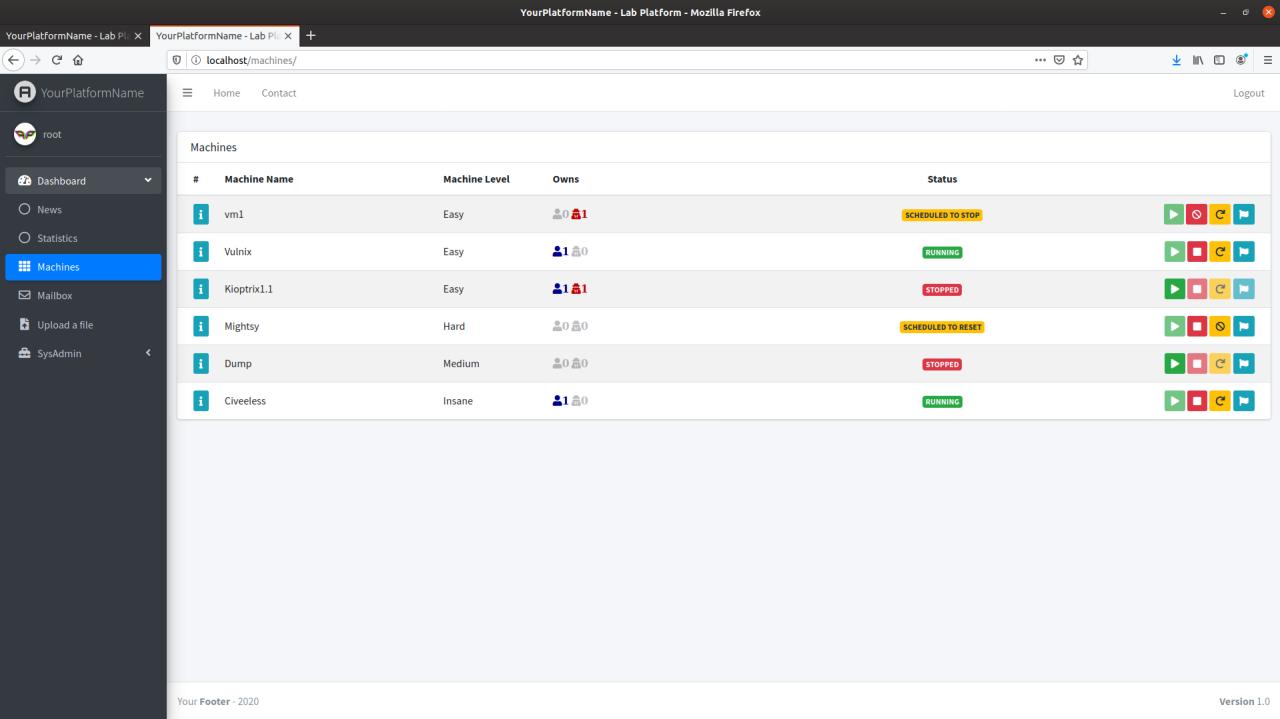
This should feel familiar, I hope! VM controls should work in expected “human” way. This was a horror for me to code since I’m not a front-end guy but I think I’ve manged to make them a somewhat pleasent experience to use.
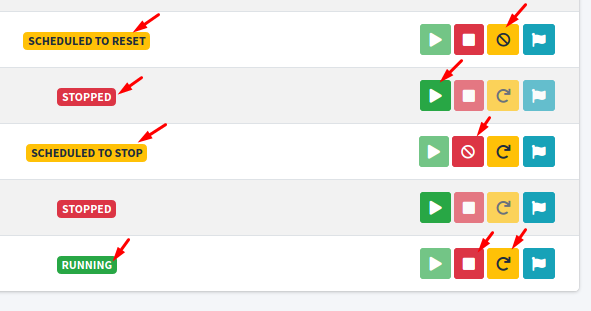
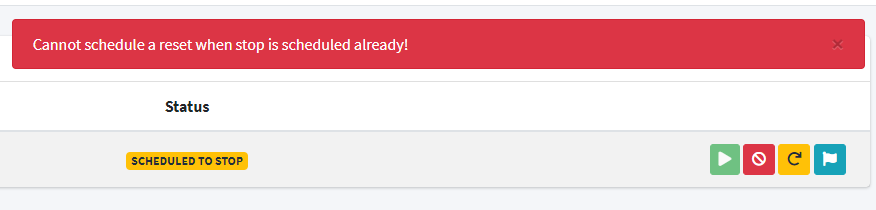
Of course you don’t shutdown or reset the machine when pressing the according buttons. I integrated Redis specifically to handle this functionality of the panel. Pressing the button will schedule a task with a countdown of 150 seconds. If no one cancels the job, it will execute. Otherwise, it gets revoked and the VM is not touched at all.
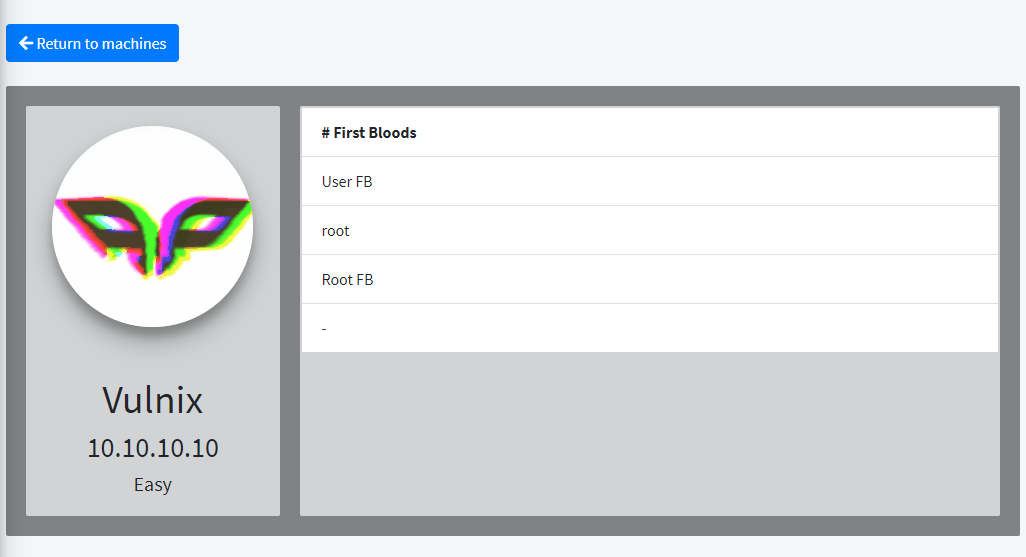
You can even click on the “i” button to reveal the IP address of the machine and who scored a first blood on the box. I did my best but I will repeat myself, I’m not front-end guy and I know this looks ugly. I know :( But what can I do.. (h31p m3 !!)
Aaaand the fun with controls of course! You are welcomed to break the logic and report back the issue ;-) Even more welcomed is the pull request with the fix!
Mailbox
This is an example of me procrastinating avoiding coding the core functionality. I spent way too much time on that. I don’t even know why I wanted to have this in the first place..
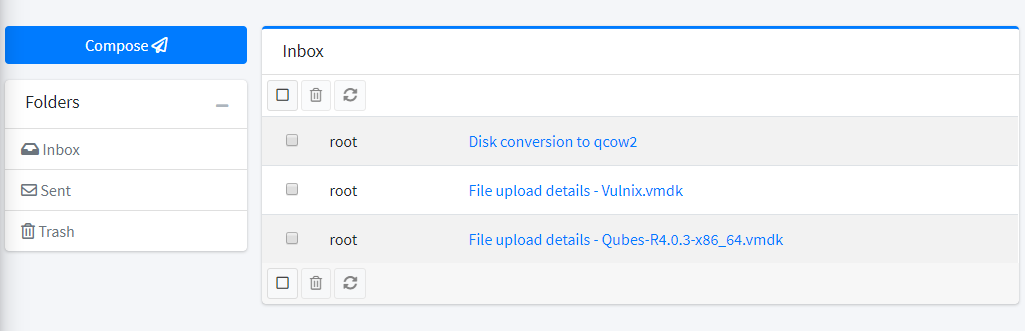
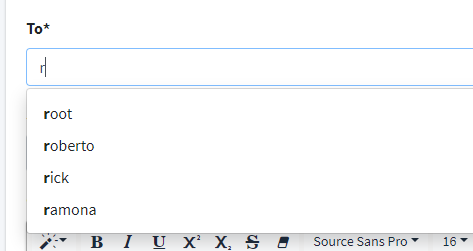
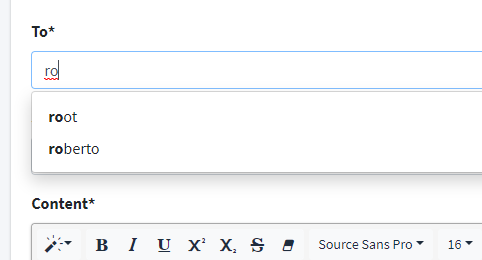
I put there WYSIWYG editor so you can send YouTube videos to other users. For funsies I guess. Another procrastination feature: auto-complete for user finding. Look at this beauty!
But I left a quark as well. You can’t trash mails. For now - there are more core functionality to come (OpenVPN integration) so soon you will be able to trash mails! :D
Upload a file
Remember that this is intended for trusted users, like your pentesting team, to use. At this point in time, I didn’t put any restrictions on the upload functionality. Usually you’d want user to send VM disk files like VMDK, VHD, QCOW2 and that would be enough.. but I didn’t put any limits if you plan to deploy more advanced VMs / scenarios.
SysAdmin
First of all, this is not visible for regular users. Second of all, this is not the best sysadmin panel but it gets the job done!
Network
If you plan more advanced scenarios, you probably don’t need to create a network. For all the normies like me out there, just create the network. One note: your life will be easier if you do this AFTER you deploy OpenVPN server.
If you create a network using the web interface, when deploying machines the network will be automatically chosen for you. However, you still have the possibility to chose other networks upon deployment.

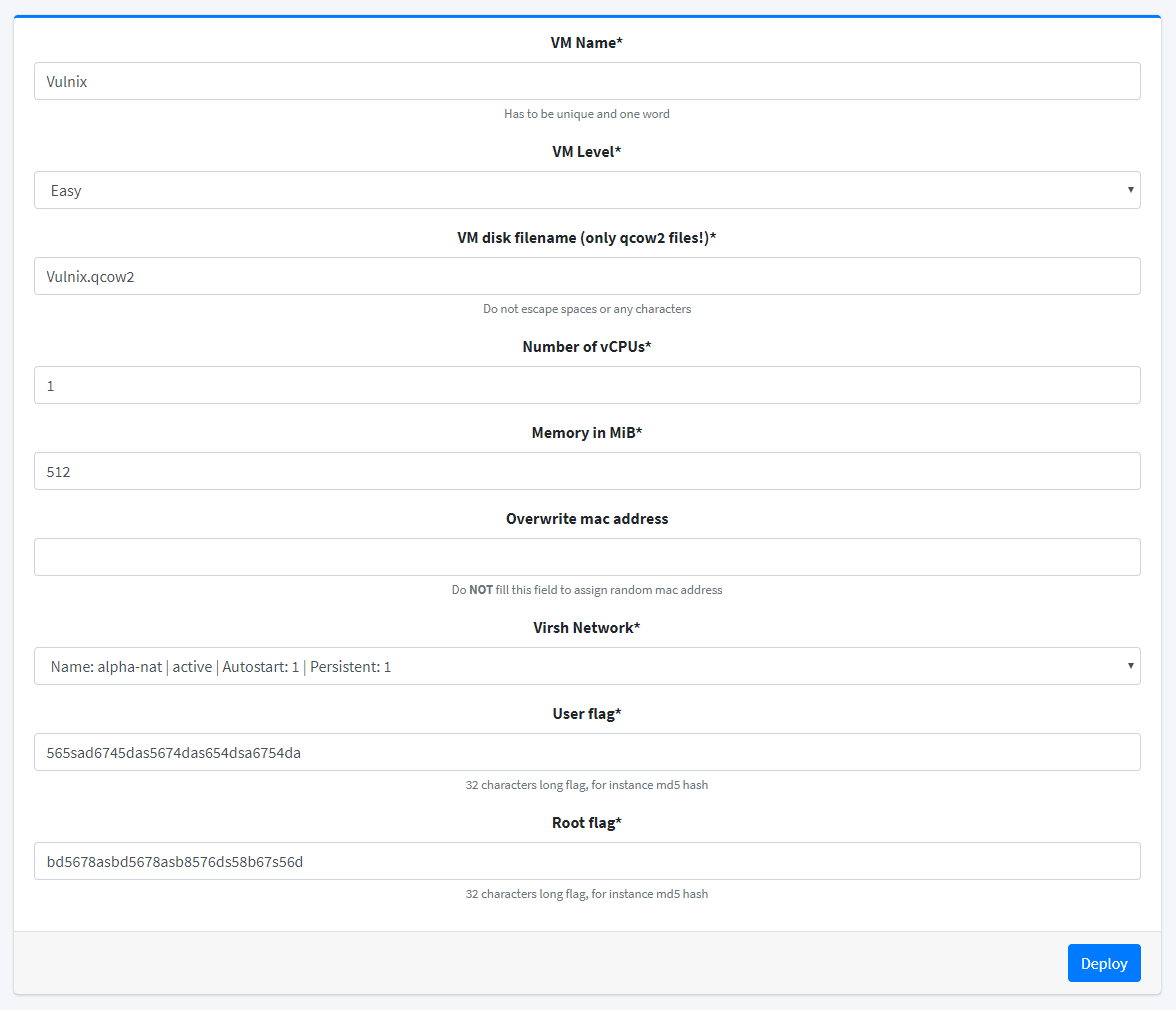
Deploy VM
This seems to be self-explanatory enough. Before you deploy the VM though, you have to have the VM disk already converted to the qcow2 format (you can use Convert disk page for that, duh). Apart from that, example of how to fill the fields:
If everything went smooth, you are redirected to the Machines page where two notifications pop up:
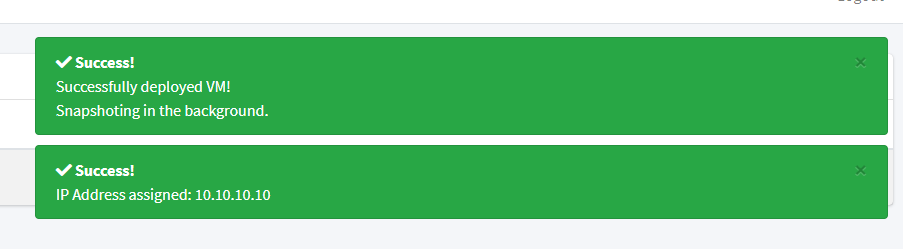
Taking a snapshot usually takes seconds so really not a problem. If the VM is shutdown or reset, the VM is reverted to the initial snapshot taken during this step.
Convert disk
This provides you the ability to convert the VM disk from any format qemu supports to qcow2. The latter format is required for the snapshots capability.
Configuration
This is everything what is configurable from the panel:
HTML titlewhich is displayed in the tab namePage titlewhich is displayed in the left top corner of the pageContact urlwhich is a link available in theContactformContact url textwhich is a brief description in the form of button in theContactformHost locwhich is the path of the “physical” location of theuploadsdirectory (the on the host which runsdocker-compose)Contact textwhich is displayed in theContactformFooterwhich is displayed at the bottom of the page
You may be a bit confused by this contact url and url text. In the top left corner there is Contact button. With the default configuration, when you click it you see the following:
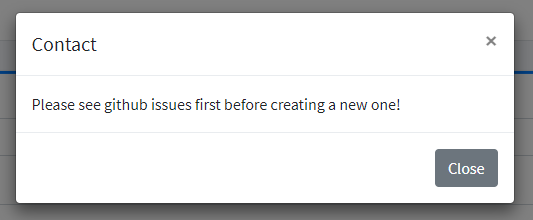
Nothing to press, nowhere to go. Only the message you can read and close. If you fill the contact url and save the settings, the next time you click the Contact button you should see an extra button available:
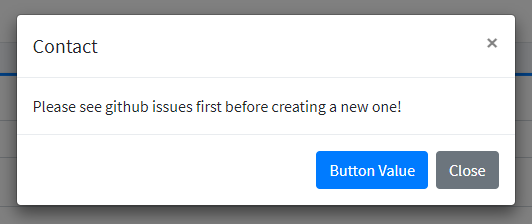
I made it this way so that you can (or don’t have to) have some link to internal forum or Discord server for ease of access when user tries to talk to the platform owner.
I think it sums up the platform capabilities.
Happy story
So to test the platform, I created a D2s_v3 VM in the Azure as this size supports nested virtualization and followed my instructions. It worked, obiovusly. Otherwise I wouldn’t write and release this! :D After deploying the VM, I scanned the machine with nmap:
ubuntu@DEPLOY1:~$ nmap -T5 -sS 10.10.10.10
Starting Nmap 7.80 ( https://nmap.org ) at 2020-04-02 20:41 CEST
Nmap scan report for 10.10.10.10
Host is up (0.00096s latency).
Not shown: 988 closed ports
PORT     STATE SERVICE
22/tcp   open  ssh
25/tcp   open  smtp
79/tcp   open  finger
110/tcp  open  pop3
111/tcp  open  rpcbind
143/tcp  open  imap
512/tcp  open  exec
513/tcp  open  login
514/tcp  open  shell
993/tcp  open  imaps
995/tcp  open  pop3s
2049/tcp open  nfs
MAC Address: 02:00:00:9A:EA:6F (Unknown)

Nmap done: 1 IP address (1 host up) scanned in 0.35 seconds
Now I’m more than happy. Everything worked, nothing failed. This is the way!
Worth it?
Definitely! Hopefully this project will serve more people than me and my HTB team. Overall I’m very happy with what is already available, and as time allows, I will code more functionality aaaaand refactor the code a little bit. I know it’s not consistient and fails many PEPs but hey, it works!